Showing posts with label light play. Show all posts

DIY Tabletop Light Box {3 Simple Steps!}

(This post contains affiliate links for your convenience.)

So I've been wanting this Table Top Light Box for ages...


Unfortunately, the price tag has been a bit prohibitive... We have a larger DIY light table made from an Underbed Storage Box that works pretty good -- we followed the general directions for the spray paint method over at Teach Preschool for the first light box... my son plays with it nearly everyday!


A few tips on making a larger version w/ spray paint:
  1. The plastic primer is NOT optional - you must use it in order for the other paint to stick to the plastic.
  2. Scuff & clean the surface of the plastic bin with sandpaper before priming! We learned this the hard way actually... even with the primer, we had blotches of paint flake off -- especially places where my son put heavy items or tried to sit/stand on the bin :(
  3. Buy a big enough light for inside - we used a corded 18-Inch Fluorescent Light from the hardware store - it works pretty well! the smaller battery operated lights didn't seem to give off enough light for the price (+ the cost of batteries!) 
So... on to our DIY table top light box!

The other day I saw these 12"x12" plastic Scrapbook Paper Boxes at our local craft store for 40% off & I thought -- "Whoa! That would make a great mini-light box!" i.e. half the size of that tabletop box above... but for a fraction of the cost! I went ahead and purchased the plastic container and a set of White LED Lights. Since I used a 50% off coupon for the lights, the bulk of the materials for our table top light box cost less than $20!


I used a quick method for this version of a light box - also based on info over at Teach Preschool! Just 3 easy steps and your little one will be enjoying their very own light box in no time!

You need: 
A 12"x12" clear plastic Scrapbook Paper Box
A string of 50-100 White LED Lights
Aluminum foil
Wax paper or Parchment paper
Clear tape

1. Cut a piece of wax paper or parchment paper to fit inside the BOTTOM of the box. Then tape around the edges to hold it in place.


2. Cover the inside of the box (i.e. the top & sides) with aluminum foil & tape the edges to keep in place - make sure the shiny side faces inside the box for the light to reflect off of!


3. Arrange the LED lights on the LID of the box in a 'coil' of sorts & tape the cord down. You can drill a hole in the box for the cord if you want.


4. Then you're ready to go!


Overall, this quick method took about 20 minutes total & the result was pretty good! While I think that I prefer the 'spray paint' method mentioned above, this method allows for me to use the plastic box for something else later if my son completely loses interest in the light box (which is highly unlikely!)


I'd love to hear about your own DIY light box and light table ideas... please share!

Project Motherhood

Green Eggs, Rainbow Beans & other colorful stuff {Peek @ the Week}

Life has been crazy lately & I haven't had nearly enough time to write about all of the exciting happenings in the classroom & at home. Here a just a few of the things that we've been up to!

Last week, we made Green Eggs to go with Dr. Seuss's "Green Eggs and Ham." They look gross, but really tasted fine. Surprisingly, my student's all liked them!


My son has been enjoying the Rainbow Bean bin that I wrote about last week... here he is playing with them! He had fun mixing all the colors together. Now they remind me of jelly beans -- perfect for Easter!


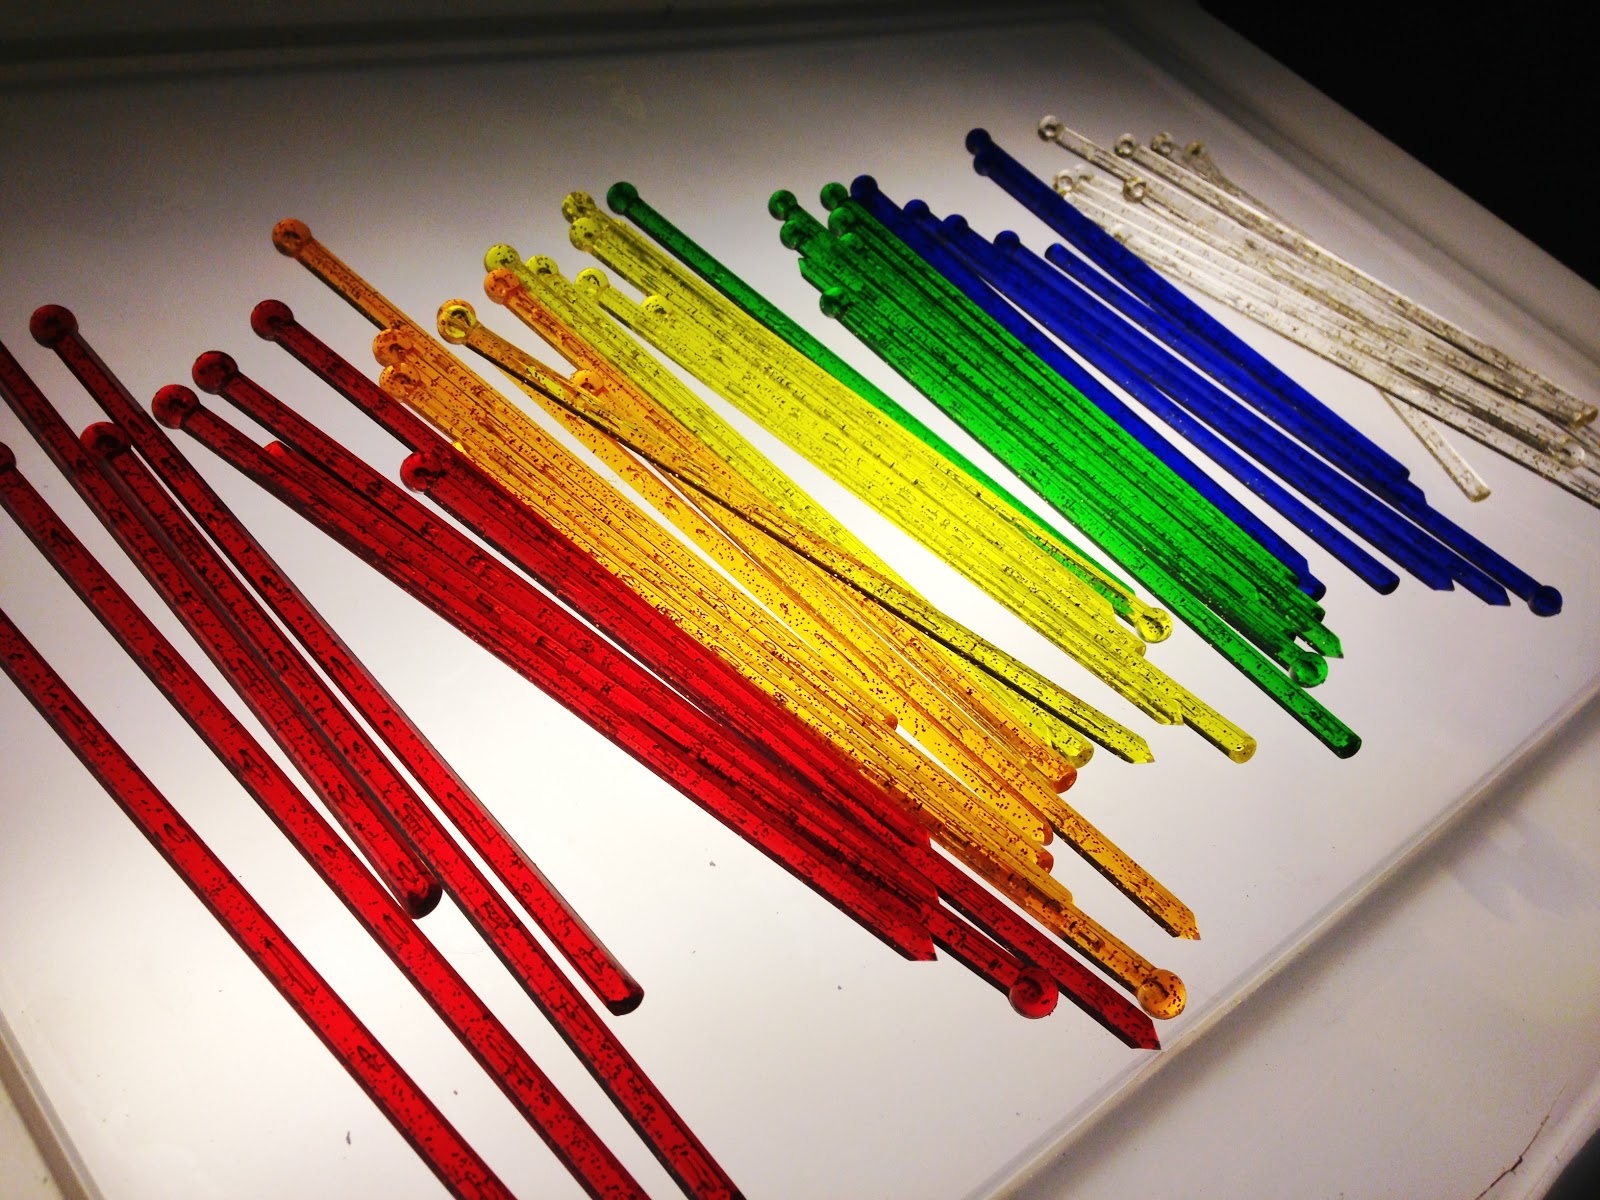
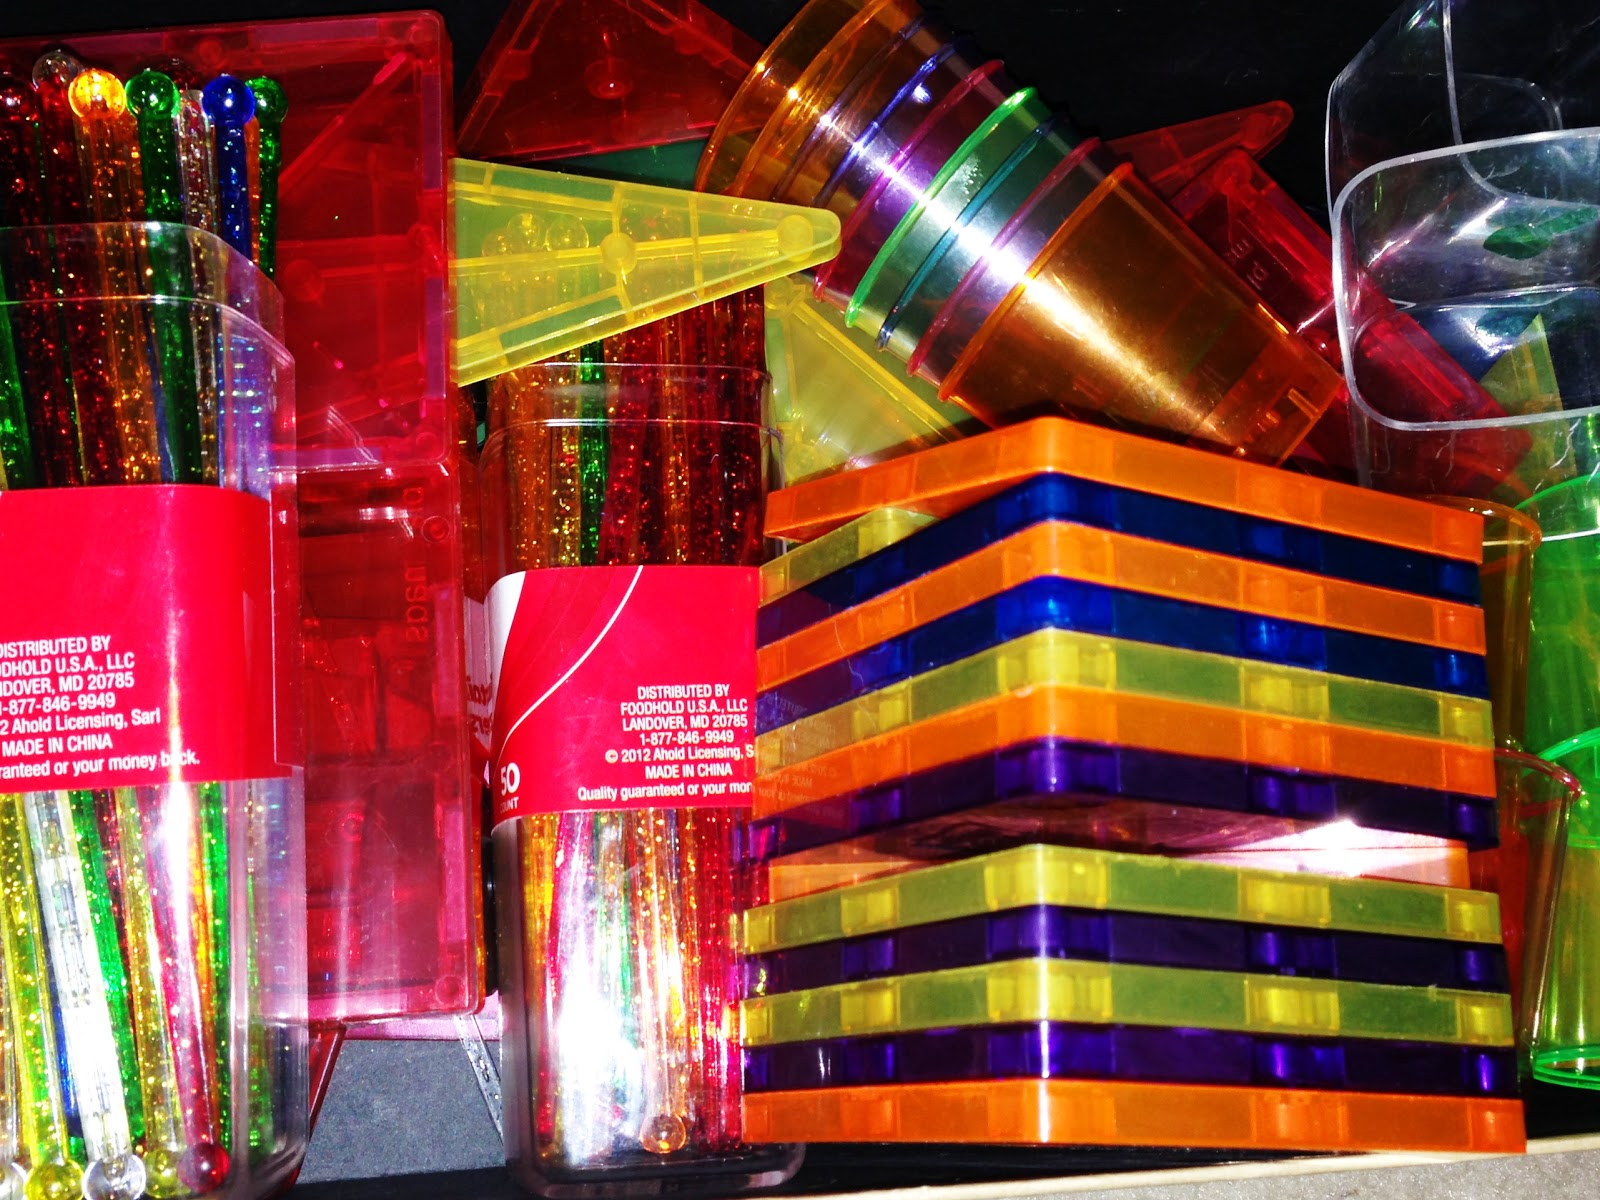
Something else that we've been playing with lots lately has been our homemade light box. I had to fix it up a bit last weekend because some of the paint was coming off of the inside - I'm working on details about how we made our inexpensive version! We found these fun drink stirrers at the grocery store a while back and they look awesome with the light coming through!


Here are some of the other items that my son likes to use on the light table:


What kinds of colorful spring activities have you been up to with your little ones?

Valentine's Wrap-Up

Since last week's Valentine's activities were put on hold as a result of the snowy weather, we will likely finish up hearts, friends and love themes next week.

Here are a few of the activities that we've been enjoying (when we aren't home for a snowday!)

Valentine's Themed sensory bin - Both the girls and the boys LOVE this bin, containing metallic red 'grass,' purple, white, pink and red pompoms, plastic jewels, heart boxes, silicone candy mold, tongs, foam heart table scatter, red buckets and plastic heart shaped filler. Some kids just like to explore the contents, other like to collect certain items and some kids like to bring it to the kitchen area for a tea party!


Light play with hearts - We've continued exploring different materials on the old overhead projector that I dug out for my classroom. I found these heart shaped translucent bracelets and 'links' in the seasonal aisle at a local big box store - the heart shaped jewels are from the dollar store. We talked about size and spatial vocabulary, colors and counting while playing with the hearts. Now that we've had some more experience with light play, the kids are starting to participate more, ask questions and engage with the concept more than when we first introduced it.


Heart Traywork Activities - Here's one of the activities from my printable hearts pack... and our fine motor gloves in use to help my students work on pinching the clips to open them.


Sometime next week, we'll have our Friendship party, exchange valentines & treats and finish up the activities that I already had planned (for last week) ... then, we'll be ready to move onto Dr. Seuss!!

Snow Day & Snowmen

Snow day off school and my toddler is napping ... it's a perfect opportunity to catch up on blogging - or my lack of blogging during the past week. I've been busy with preschool shenanigans, university end-of-semester tasks and holiday preparations at home. Managed to get our Christmas tree up - while not as organized as usual, it's up and my toddler LOVED decorating it - that's all that matters really!


We've been reading lots of Christmas books at our house lately. I had wanted to post a whole 25 days of Christmas reading, but couldn't get it together fast enough. However, we will be doing a '12 Days of Christmas Books' with some great vintage books and some new favorites ... stay tuned beginning December 13 -- I'll be sharing our favorite books in posts between the 13th and 25th of the month... probably a few at a time rather than one every day (I'm just not that organized to write a post a day!)


As for what's been going on at preschool, here are a few of our pictures from last week that I never got around to posting....

 We made a big ball of sparkly snow play-doh roughly using the microwave dough recipe from a while back.  I can't say we were champs at measuring this time, but it worked out well - microwaving did take extra time because we made a quadruple size batch! I put out assorted odds and ends for making a snowman and let the kids go to town.


Check out the biggest snowman with the black beads on the sides of its head -- those are hearing aids! I've got a student who has recently become very aware of his hearing aids and has started putting hearing aids on all of his drawings, sculptures ect.


The sparkles in the dough were about a cup or two of Buffalo Snow that I picked up on clearance somewhere last year. It makes a heck of a mess by itself, but in playdoh, it's really quite charming!


I also changed out the materials for light play and introduced a couple of sheets of cheap snowflake window clings. The kids are still getting the idea of the whole 'light play' thing... and many of them just aren't all that interested in it yet, but we'll keep trying to find just the right materials that catch their interest...


We sang "Five Little Snowflakes" (to the tune of "Twinkle Twinkle") with the snowflakes, adding one at a time with each verse, and overhead that went something like this:

One little snowflake with nothing to do 
along came another, then there were two 

Two little snowflakes playing with me
along came another, then there were three 

Three little snowflakes calling for more
along came another, then there were four

Four little snowflakes dip and dive
along came another, then there were five 

Five little snowflakes having so much fun
whoooo! went the wind, then there were none!

I can't say that I remember where it came from, but there are similar versions all over the internet!

Lastly, we made this simple letter craft. S is for snow ... or snowballs. Pretty simple.


I have to say that I've enjoyed my day off... catching up on house work, laundry, blogging, time with my own child... They're calling for more snow late tonight and early tomorrow morning... two snow days in a row? We'll see...

Peek @ the Week

I've been so busy lately that I haven't had much time to post the last two weeks... here's a quick peek at what we've been up to this week!

We've been reading books about food, fall and family in preparation for Thanksgiving! Here's our bookshelf this week:


We've focused heavily on the books "Feast for 10" by Cathryn Falwell and "Today is Monday" by Eric Carle.


We're working on a take home book based on "Feast for 10" .... here's our artwork so far - 2 pumpkins, 3 chickens, 6 bunches of greens and 7 pickles... 


Our sensory bin the week has a variety of beans, play food, pots, pans, funnels, spoons etc.


Here's one of our morning work activities - bean sorting.


I introduced some light play using an overhead projector with a handful of translucent plastic leaves, leaf shaped sequins (table scatter decor from the craft store) and plastic letter tiles.


And we learned about letter 'L' for leaves since the leaves are still turning colors and falling - Here's our Rainbow writing letter 'L' with smashed up leaves sprinkled over glue. Simple but fun!


That's all for now... what are you up to this week?