Showing posts with label science. Show all posts

A NEW Sensory Experience: Tapioca Shreds

*Affiliate links included for your convenience*

It's no secret, I love sensory play - both in my preschool classroom & at home with my own child! I'm constantly experimenting with sensory play ideas & always keeping my eyes open for the next great (insert ooey, gooey, squishy, wet and/or fun word here) sensory experience for my kids... From time to time, I've even been known to fall down a virtual black-hole & Pin hundreds of sensory play ideas in a single evening... (see my sensory play board here).

Getting on the the main event, yesterday, after an amazing lunch at a nearby Korean cafeteria, we went shopping at the Asian grocery store next door. We only went in for a few items, but somehow I managed to leave the store with these fun Multi-Color Tapioca Shreds:


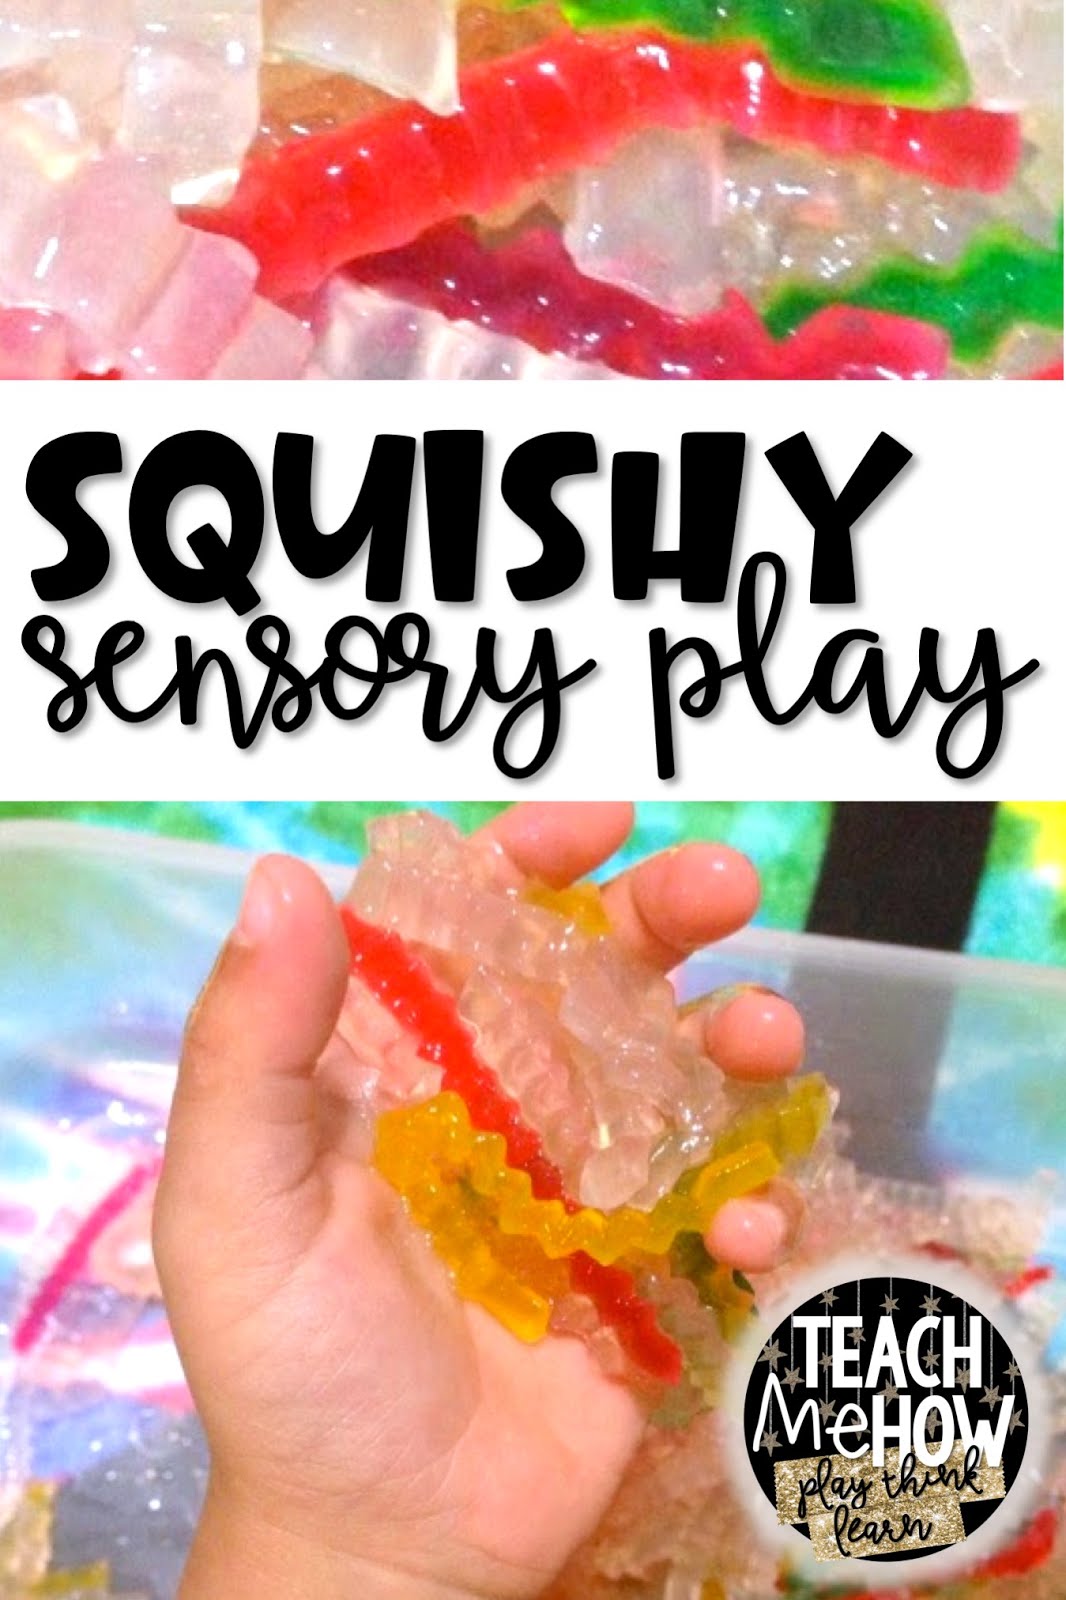
I've seen hundreds of blog posts about tapioca pearl sensory play and actually entered this aisle of the store to purchase a few bags of tapioca pearls for a classroom bin next week. Instead, I discovered the Tapioca 'Squiggles' right next to the pearls. They were multicolored & about $1.00 a bag (7 oz/200g) - perfect!

I hid a few bags under the other items in my cart - which turned out to be a weak attempt at avoiding my husband's questions; he quickly spotted the new addition to the cart & gave me a bit of a hard time about buying yet another item for my classroom - I quickly assured him that our child would also be playing with them and he let it go! I also thew these Training Chopsticks into our cart! 

Since pretty much everything on the bag is written in Vietnamese, I did a quick internet search to figure out how to cook the strange little squiggles. My search didn't turn up many great directions, other than 'cook until soft' & a few recipes for some coconut tapioca desserts (which I imagine might be tasty if you like the texture of tapioca). So here's basically what I ended up doing:


1. Bring a pot of water to a boil & add tapioca shreds.
2. Boil for 15-17 minutes, stirring frequently. (I tested them by tasting them - if you can't chew them, they're not ready!)
3. Drain & rinse with cool water.
4. Pour into container for play & add a few drops of oil - I used olive oil.
5. Play!


They were warm, wet, squishy, ooey, gooey & slimy! They looked a lot like gummy worms, but have no taste whatsoever. When my son was finished with them for the night, I put them into a plastic bag and threw them into the fridge to keep them from drying out & spoiling quickly. The next morning, they had solidified into a sticky gelatinous mass of tapioca noodles; I quickly remedied the issue by placing the tapioca noodle brick into the colander for a quick rinse under some warm water.

I placed a towel under the tray to catch any rogue tapioca shreds from becoming stuck to my furniture. As a warning, we did discover that a wet a tapioca noodle dries rock hard, sharp & very stuck to whatever surface it was left on... So clean up well, before anything dries! And, a dry tapioca shred cannot be put down the garbage disposal - we learned this the hard way!

I'm still unsure how long they'll last - we've used them twice & have rinsed them a few times. I was thinking that I'd add a few drops of lavender or tea tree essential oil to perhaps slow the growth of bacteria in our classroom sensory bin - to hopefully get 2-3 sessions at the sensory bin before they need to be trashed.


Anyone have ideas preventing or delaying the growth of mold and germs in wet, squishy or sticky sensory bin fillers? 


Exploring Melting...

In class today, we read an old Scholastic reader - from January of last year! The kids usually enjoy reading the 'newspaper' and I love the great photos & easy to understand text....It's perfect for my students!


Today, we used it as an introduction to the concepts: frozen & melting - which the kids have had lots of experience with lately -- with all the wintery mixed-up weather that we've been having!

On the back, there was an activity where the kids were supposed to identify which items were 'frozen' and which items were 'melting.'


They had so much trouble showing that they understood the difference between the two, that we just had to do our own experiment to better understand what frozen & melting really meant!

We went outside & collected bags of snow. Once back inside, the kids came up with places to put the bags of snow - after some prodding & suggestions they came up with the fridge, freezer, next the heater & on the window.
To add another twist, we added some other ingredients to three of the bags: salt, hand sanitizer & flour.

We checked on the baggies several times over the next 2-3 hours & the kids were very excited to find that some of their snow had turned into water - it had melted. We took pictures of our observations to make into a book...
Some of my students were also able to figure out what ingredients made the snow melt faster - the bag with the salt even had 'frost' that formed on the outside of the bag (a neat little chemical reaction to make observations about!)

We ended out the day by reviewing the pictures that we took, discussing our observations & creating a little book about the melting snow!

At snack time, we read The Snowy Day by Ezra Jack Keats - and the kids knew exactly what was going to happen to the snowball that Peter put into his pocket ... it MELTED!


Hopefully tomorrow, when I ask them about 'melting,' they remember our experiment and can easily differentiate between 'melting' & 'frozen.'

I'm back!! {Five for Friday}

I've been away for far too long... but, I'm back! I can only hope that a rough ending to 2013 and rocky beginning to 2014 means that the rest of the year will go smoothly...

Just to catch everyone up on what I've been up to at home & in my classroom... here's a Five for Friday...

1. Gingerbread Man! Before holiday break, we read The Gingerbread Man and did lots of gingerbread inspired activities. One of my favorite activities from our Gingerbread unit was making and playing with these giant chalkboard gingerbread men:


They're made from thick cardboard, masking tape around the edges and painted with homemade brown chalkboard paint. I added some ginger, cloves, cinnamon & nutmeg to the paint for the final coat of paint to add a little gingerbread scent.


2. Snow Sensory Bin - this has been one of the longest living sensory trays out our house! Seems that my toddler preschooler doesn't tire of it and my 8 year old stepdaughter loved it too! When everyone tires of it, I plan to add vinegar in spray bottles and droppers for continued fun & experimentation!


It's a pretty simple recipe: baking soda, hair conditioner, buffalo snow. We used a couple of cups of baking soda, about half as much hair conditioner and a couple of cups of shimmery buffalo snow.


And we've since added other items to the tray for playing... currently it's filled with little construction trucks from Christmas!


3. Maryland Science Center - This year, instead of tons of useless toys for my 3 year old, we put his Christmas gift money towards a membership to the Maryland Science Center so that we can enjoy weekend activities all year long! I've decided that memberships are really the way to go, usually only 2 visits makes it economical for a family of 3+... here are a few pictures from our first visit of the year...


4. Looks who's Three! My toddler just turned three last week. I love watching him grow and learn every day... I just cannot believe that he's growing up so fast!

5. Back to school & mother nature - the 2014 school year has been off to a shaky start... we've had several snowdays & 2 hour delays that have interfered with getting back to the normal routine. Not that I'm complaining about a few extra hours of sleep ... but looking forward to getting back into the groove.


Bugs, Birds & Frogs...

It's been a long time since my last post! Balancing work, family and all the other things has been too much lately. Here's a recap of what' we've been doing in preschool over the last 6 weeks or so!

We started with a month long focus on birds... the kids loved this topic and constantly came back to it every time we tried to introduce new materials to spark interest in other topics! We made bird feeders from toilet paper rolls -- here's how we did it:

spread peanut butter (or NoNutButter in this case)

Roll in birdseed

Add holes and string to hang!


We played in a birdseed sensory bin! The kids loved this bin and couldn't get enough of it. When we were finally finished with it, we threw the birdseed outside of our classroom windows and we attracted quite an array of bird species!
Bird Seed Sensory Bin
Bird Seed Bin

We painted bird feeders:


I introduced the book "Over in the Meadow" by Ezra Jack Keats


Here's the bulletin board that we made to go with our counting story:


... which opened up interest to other creatures including bugs and small animals! We took a field trip to the science museum and got to see many bugs up close - so cool!


We followed up with a variety of activities about bugs and spiders. Here are pictures of some of the 'insect-like' creatures my students made from playdoh.


We ended the year with pond/frog activities.. The pond sensory bin, with bugs, lily pads, blue & green flat glass stones, dragonflies and a variety of funnels and contains for scooping and pouring was a hit.


This summer, I'm preparing for a month long unit on Dinosaurs! So excited to do this unit because it never seems to fit into the regular school year and I think that the kids will really enjoy such a fun topic!