Currently, my favorite Halloween book is Room on the Broom by Julia Donaldson! My students always love the whimsical story, lively illustrations and the rhythm of the text almost feels musical when read aloud (There is, in fact, a musical version that can be heard HERE!).
I always read the book a few times, do a little dramatic play with some props and then towards the end of the week I show the short animated movie - the kids really love this story!
Since the story is repetitive, it great for having the children join in while reading and to work on retelling skills afterwards. I really wanted my students to be able to engage with this story over and over again in new and different hands-on ways, so I created a few activities to go with it - they can be found HERE.
My students' absolute FAVORITE activity is this Build & Balance Retelling activity:
Students have to balance the broom by carefully stacking the storytelling props on top of each other. I created several printable options including foldable picture props, pictures to attach to wooden blocks (or these BLOCKS), or pictures sized for DUPLO type blocks. Several options make for quick and easy differentiation!
The foldable stacking pieces are the easiest to balance and the quietest, but are more fragile than the pictures sized for wooden blocks. The Duplo pictures are great for adding to your building area and they stick together so there isn't really much balancing, just building.
Build it up, but don't knock it down!
For older students, I added some worksheet options to go with the activities including pages for retelling, creative writing, problem solving, main idea and story elements. There are MANY different options for each, which makes for easy differentiation!
I also collected these great dramatic play props so that the children can act out the story!
I recently discovered that I can set my iPad or iPhone up to decode Secret Message activities!
This means that if you have a newer Apple device, with iOS10 or higher, you don't need to purchase one of the decoder options or spend time making a decoder; simply follow the directions below to adjust the color settings on your device and then set a shortcut so that you can access the Red Tint setting quickly!
First, you need to enable the 'Red Tint' setting.
Go into SETTINGS - GENERAL - ACCESSIBILITY - DISPLAY ACCOMMODATIONS - COLOR FILTERS. Next, click the toggle at the top to turn on the color filters option.
Scroll down until you see sliders for Intensity and Hue; slide both all the way to the right for red. The red tint will not show up in pictures or screenshots, but will alter what can be seen through the camera on the screen.
Your screen will look a bit like this with the red tint on:
For quick and easy access to this setting, you'll want to set up a shortcut.
Go into SETTINGS - GENERAL- ACCESSIBILITY - ACCESSIBILITY SHORTCUT. Click on the 'Color Filters' option on the list. Now the red tint setting can be easily accessed by triple clicking the home button. If you have multiple accessibility shortcuts set up, you'll need to choose the Color Filters option from the list
When you go to use your shortcut, you'll press the home button quickly three times. Depending up on what app you have open, you might have to choose 'Color Filters' from a list of shortcuts you have set up. It looks like this:
Now you're ready to use your device to reveal the hidden words in one of my Secret Message Literacy Centers! But before you get started, I highly suggest making sure that your device is well protected just incase it's dropped!
Simply turn on the Red Tint setting and then go to the Camera App. Point the camera of your device at one of the Red/Blue Secret Message cards to reveal the hidden word; you will be able to view the word on the screen of your device like this:
Give this activity a try with this FREEBIE! It includes the first 10 Fry Sight Word Secret Message cards, 3 different recording worksheets and an answer key.
For more Secret Message activities check out THESE posts:
In March, as we all impatiently waited for spring to arrive, I brought a huge bag of silk flowers to the classroom for the kids to explore. With snow on the ground and colder than average temperatures outside, we had colorful little reminders inside that spring *should* soon be on its way.
Initially, my idea for the flowers was to sort by color and create rainbow designs and patterns, but my students had different ideas... and began cooking with them in the play kitchen area one day during yet another indoor recess. They made a colorful mess of flowers filling every pot, pan and cup available. The kids served up flower tea, flower muffins, flower cake, flower pie, flower pizza and much more! My students became a little obsessed with the flower cooking so I began exploring how I could sneak in a little play-based math practice.
At first, I scribbled some quick Flower Pie recipes on scrap paper with markers and showed them how they could record their own recipes by drawing pictures.
Before I knew it, students were creating their own recipes, drawing their pie creations, talking about numbers and making comparisons all on their own!
The following weekend, I sat down and created this huge pack (there are over 100 pages!) of play-based math activities using silk flowers and other materials that can easily be found at the Dollar Tree (or maybe even things you already have in your own kitchen at home or supply closet at school)! I introduced the activities a few weeks ago and they've been a huge hit.
Contents
Since I have such a wide range of ages and abilities in my own classroom, I created activities that are easily differentiated and enticing to students between Preschool and Kindergarten age.The simplest activities focus on visual perception and include a sort by color or size activity with printable vases for sorting...
... and many activities that focus on visual perception and copying skills.
There are over 50 different recipe cards that focus on counting and creating sets of up to 10 items. Recipe cards for quantities 1-5 and 5-10 are included for flower pie, flower pizza and flower ice cream!
Several three-dimensional printables are included which require some simple assembly. Sorting 'vases' for sorting by color, size and creating sets up to 10 are included. Simply print, cut the page in half along the dotted line, roll into a tube and tape the edge where marked. Along with the Flower Ice Cream activity, I've included a template for an ice cream cone. Simply print, cut around the edge of the template, roll into a cone shape and tape or glue the edge where marked.
Each activity also has a 'make your own' option (in color or black and white) where students can fill in the numerals to create their own recipes, place the flowers on or draw a picture of their recipe.
Materials
You'll need to purchase an assortment of silk flowers and some inexpensive props to go with the activities. Silk flowers can be found relatively cheaply at the Dollar Tree; look for stems that have smaller flowers with many blooms for the counting activities. You'll need the following colors: pink, red, orange, yellow, blue, purple and white. Blue flowers were the most difficult to find, but with a little searching I was able to find enough. I bought about 2 stems of flowers for each color spending between $12-14. Leave the flowers on the stems for the color, size and counting vases activities; remove the flowers from the stem for the recipe card activities.
Depending on which activities you want to do with your group, you might need a pie pan, a pizza pan, a muffin tin with 6 spaces and a muffin tin with 12 spaces; I found everything except the 12 space muffin tin at the Dollar Tree. I think that I purchased my 12 space muffin tin from a thrift store for less than $2.
Lastly, I made a pie crust and pizza crust for my activities out of an old tan sweater by tracing my pan and cutting out a circle. If you don't have an old tan sweater (who knows why I had it laying around!) you could use tan felt or fleece from the fabric store (the edges of these fabrics will not fray and do not need to be hemmed); take your pan to the store with you so you know exactly how much to buy.
I also made this lattice-top crust (completely optional!) for my activity by cutting a second circle into 1/4-1/2" strips, arranging them in a crisscross, over/under pattern and hot gluing where the strips overlapped.
Check out this YouTube video for instructions on how to make a lattice-top crust design:
Prep
Most of the material prep is pretty simple. Just print, laminate and cut. If you print the recipe cards as they are, most of them are 1/2 a page (2 per page). I found that I preferred most of them smaller and adjusted my print settings to include two pages per sheet (4 cards per page); printing the cards smaller also saves on supplies including ink, card stock and lamination!
If you're not sure how to adjust the print size to two pages per sheet, this video by 3rdGrThoughts explains it well:
One of my most favorite spring books is STUCK by Oliver Jeffers!
I just finished updating the activities in my Book Companion pack for the Oliver Jeffers book Stuck. I added a few more pages at the suggestion of a few teacher friends, updated the formatting to maximize the use of space and cleaned up the design and organization. I even added a completely new STEM based retelling activity!
The pack includes three different picture/props for retelling: Large pictures for cutting out, small pictures for attaching to blocks and small foldable 3D pieces.
The story blocks or foldable 3D pictures can also be used for retelling and a Build & Balance STEM based activity! The picture below is what the 3D foldable pieces look like.
You'll need a cardboard tube for the trunk ( I rolled brown poster board) and assorted sizes of popsicle sticks (I used about twelve 3"-8" green sticks). Students will need to first build a sturdy tree from the popsicle sticks and cardboard tube, then try to balance all of the story retell pieces on top; it's harder than it looks! Here's how I usually set it up:
The following block sets (affiliate links included for your convenience) contain blocks that are the proper size to create the story blocks. Simply print out the pictures at 100% size on regular paper, then cut and tape or glue them to your blocks. I usually use clear packaging tape rather than glue because I like to reuse my blocks.
Worksheet options include pages for retelling (using pictures and/or words), story elements, main idea, creative drawing & writing, and problem solving.
And, don't miss this simplified version of the story; it's great for younger students or those with speech and/or language challenges. Find this FREE printable HERE!
Check out my old post about this unit HERE where you can see some more pictures of the activities in action!
Here are some of the supplies you'll need to set up these activities:
Our classroom sensory bin has finally been switched out for
a little green and gold! I find so much value in the time that we spend playing
in the sensory bin; there are so many things for the kids to do and so much
covert fine motor practice!
This sensory bin includes green and yellow dyed pasta,
shamrock erasers, sparkly pompoms, plastic coins, pipe cleaners, bowls, tongs
and assortment of spoons!
So far this week, I’ve observed my students scooping and
pouring the noodles, transferring noodles with various spoons and tongs,
sorting noodles and pompoms by color and size, making patterns and creating
jewelry… the possibilities seem endless…
It's no secret, I love sensory play - both in my preschool classroom & at home with my own child! I'm constantly experimenting with sensory play ideas & always keeping my eyes open for the next great (insert ooey, gooey, squishy, wet and/or fun word here) sensory experience for my kids... From time to time, I've even been known to fall down a virtual black-hole & Pin hundreds of sensory play ideas in a single evening... (see my sensory play board here).
Getting on the the main event, yesterday, after an amazing lunch at a nearby Korean cafeteria, we went shopping at the Asian grocery store next door. We only went in for a few items, but somehow I managed to leave the store with these fun Multi-Color Tapioca Shreds:
I've seen hundreds of blog posts about tapioca pearl sensory play and actually entered this aisle of the store to purchase a few bags of tapioca pearls for a classroom bin next week. Instead, I discovered the Tapioca 'Squiggles' right next to the pearls. They were multicolored & about $1.00 a bag (7 oz/200g) - perfect!
I hid a few bags under the other items in my cart - which turned out to be a weak attempt at avoiding my husband's questions; he quickly spotted the new addition to the cart & gave me a bit of a hard time about buying yet another item for my classroom - I quickly assured him that our child would also be playing with them and he let it go! I also thew these Training Chopsticks into our cart!
Since pretty much everything on the bag is written in Vietnamese, I did a quick internet search to figure out how to cook the strange little squiggles. My search didn't turn up many great directions, other than 'cook until soft' & a few recipes for some coconut tapioca desserts (which I imagine might be tasty if you like the texture of tapioca). So here's basically what I ended up doing:
1. Bring a pot of water to a boil & add tapioca shreds.
2. Boil for 15-17 minutes, stirring frequently. (I tested them by tasting them - if you can't chew them, they're not ready!)
3. Drain & rinse with cool water.
4. Pour into container for play & add a few drops of oil - I used olive oil.
5. Play!
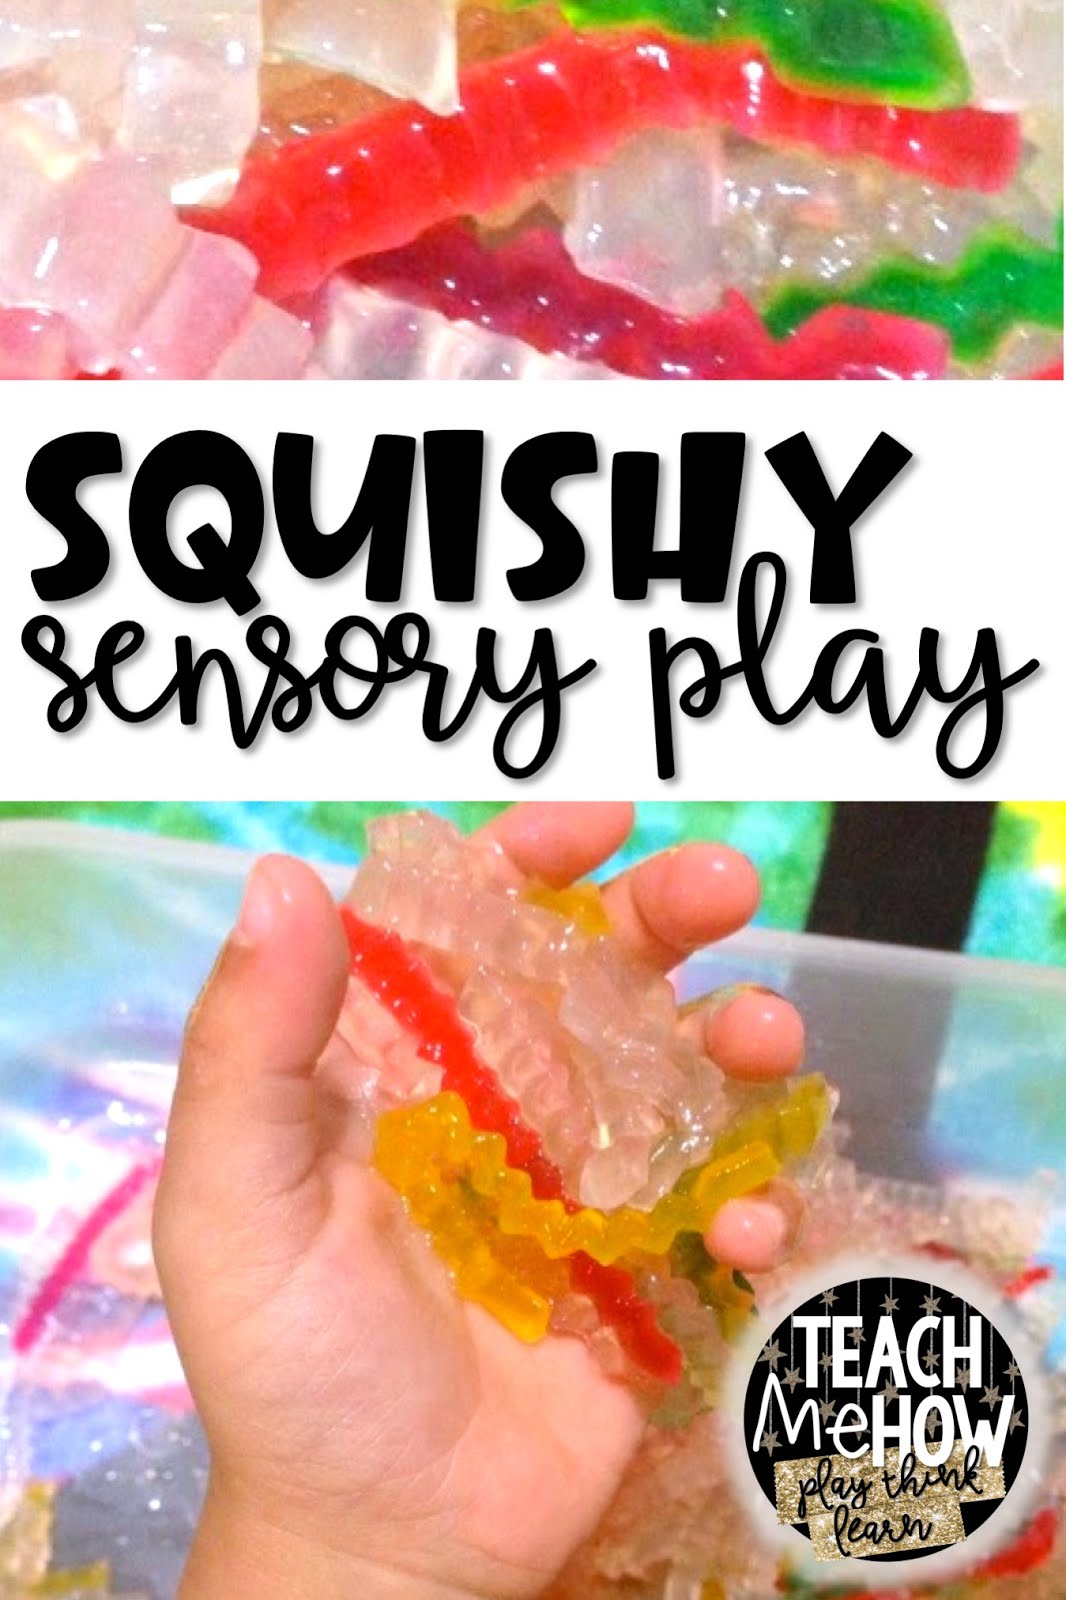
They were warm, wet, squishy, ooey, gooey & slimy! They looked a lot like gummy worms, but have no taste whatsoever. When my son was finished with them for the night, I put them into a plastic bag and threw them into the fridge to keep them from drying out & spoiling quickly. The next morning, they had solidified into a sticky gelatinous mass of tapioca noodles; I quickly remedied the issue by placing the tapioca noodle brick into the colander for a quick rinse under some warm water.
I placed a towel under the tray to catch any rogue tapioca shreds from becoming stuck to my furniture. As a warning, we did discover that a wet a tapioca noodle dries rock hard, sharp & very stuck to whatever surface it was left on... So clean up well, before anything dries! And, a dry tapioca shred cannot be put down the garbage disposal - we learned this the hard way!
I'm still unsure how long they'll last - we've used them twice & have rinsed them a few times. I was thinking that I'd add a few drops of lavender or tea tree essential oil to perhaps slow the growth of bacteria in our classroom sensory bin - to hopefully get 2-3 sessions at the sensory bin before they need to be trashed.
Anyone have ideas preventing or delaying the growth of mold and germs in wet, squishy or sticky sensory bin fillers?


 ), or pictures sized for DUPLO
 type blocks. Several options make for quick and easy differentiation!
 ), or pictures sized for DUPLO
 type blocks. Several options make for quick and easy differentiation!


 right next to the pearls. They were multicolored & about $1.00 a bag (7 oz/200g) - perfect!
 into our cart!