Spring Cleaning {Decluttering @ Home & School}

A few weeks back, I came across Joshua Becker’s "Clutterfree with Kids" eBook on Amazon during some late night surfing – frankly, I think that I must have been delirious at the time, because I purchased it & started reading it that night.

The thing that makes my eBook purchase so strange is the fact that I have serious pack-rat problem! As a child, I was the kid with collections of everything – rocks, baseball cards, drawings, books, Barbies etc. As I grew older, I kept my old collections and moved on to new collections. Now as an adult, I still have some of my childhood collections and I have a bad habit of keeping things that I think I might be able to use in my classroom. So far, watching episodes of “Hoarders” has kept my mess in-check… which leads me to...

I am, and always have been, terrible at cleaning & organizing. And frankly, cleaning & organizing useless crap takes lots of time – time that I don’t have. Between my two teaching jobs, being a mom and a wife… I just don’t have the time for all this stuff in my life!

I’m not going to go into an all out book review, but simply, the book is helpful and full of simple suggestions for de-cluttering different parts of ‘life with kids.’ When I start slowing down or questioning my desire to simplify, I go back and read a few pages to get my head back in the game – good, simple motivation and guidance.

It also happens that my de-cluttering mission coincides with this year’s “40 Bags in 40 Days” event over at White House Black Shutters – a friend of mine told me about this, after I mentioned my recent eBook read…  I’m beginning to think that simplifying & de-cluttering is really meant to be this year!  I’ve been more successful during the last 12 days than I’ve ever been at getting rid of things – I even hesitated to write about my quest because I wasn’t sure that I could maintain my momentum. So far so good… and now the world knows so I can’t quit now! 

So how’s a pack-rat to simplify? Well, it’s complicated… here are just a few things that I’ve tried to keep in mind as I continue on this journey…
1. Go Slowly  - I think that this is the most important part… Don’t do too much all at once! I try to remember that it took me (& my family) years to collect all this junk – it can’t just be cleared out in a weekend…  One box (or bag) at a time!

2. Remember: It’s all just stuff! Surprisingly, letting go of emotional attachments hasn’t been as challenging as I had expected. I did a quick little mental exercise where I thought about the things that I would want to save if there was a fire – a terrible situation that I hope that I never have to face—and I quickly realized that there isn’t much that I actually NEED.

3. Talk about your mission - I think that I got this idea from a workout magazine or something -- basically, telling others should help hold you accountable for working towards your goal. I've told my husband & a few coworkers -- we have regular conversations about what I've purged from my home & classroom and it helps keep me motivated. Others know not to give me things that I don't need and I feel less ungrateful when I turn things down. 


4. Establish new 'house rules.' Since beginning this simplification quest, I've established a 'One for One' rule at our house -- in order to bring a new item into the house, an item of equal size must leave the house. My hope is that this will keep clutter from re-accumulating as I continue to work on reducing the mess. I recently had to explain this concept to my three-year-old and he surprisingly did OK with it, giving me a toy to get rid of for the new car he wanted. While I don't think that he completely understands the idea, he seemed to get the gist for the moment and it's an opportunity to teach him about needs vs. wants and giving to others. 

I hope to write more about how the process evolves as I keep going... check back for more updates in the coming weeks.

Green Eggs, Rainbow Beans & other colorful stuff {Peek @ the Week}

Life has been crazy lately & I haven't had nearly enough time to write about all of the exciting happenings in the classroom & at home. Here a just a few of the things that we've been up to!

Last week, we made Green Eggs to go with Dr. Seuss's "Green Eggs and Ham." They look gross, but really tasted fine. Surprisingly, my student's all liked them!


My son has been enjoying the Rainbow Bean bin that I wrote about last week... here he is playing with them! He had fun mixing all the colors together. Now they remind me of jelly beans -- perfect for Easter!


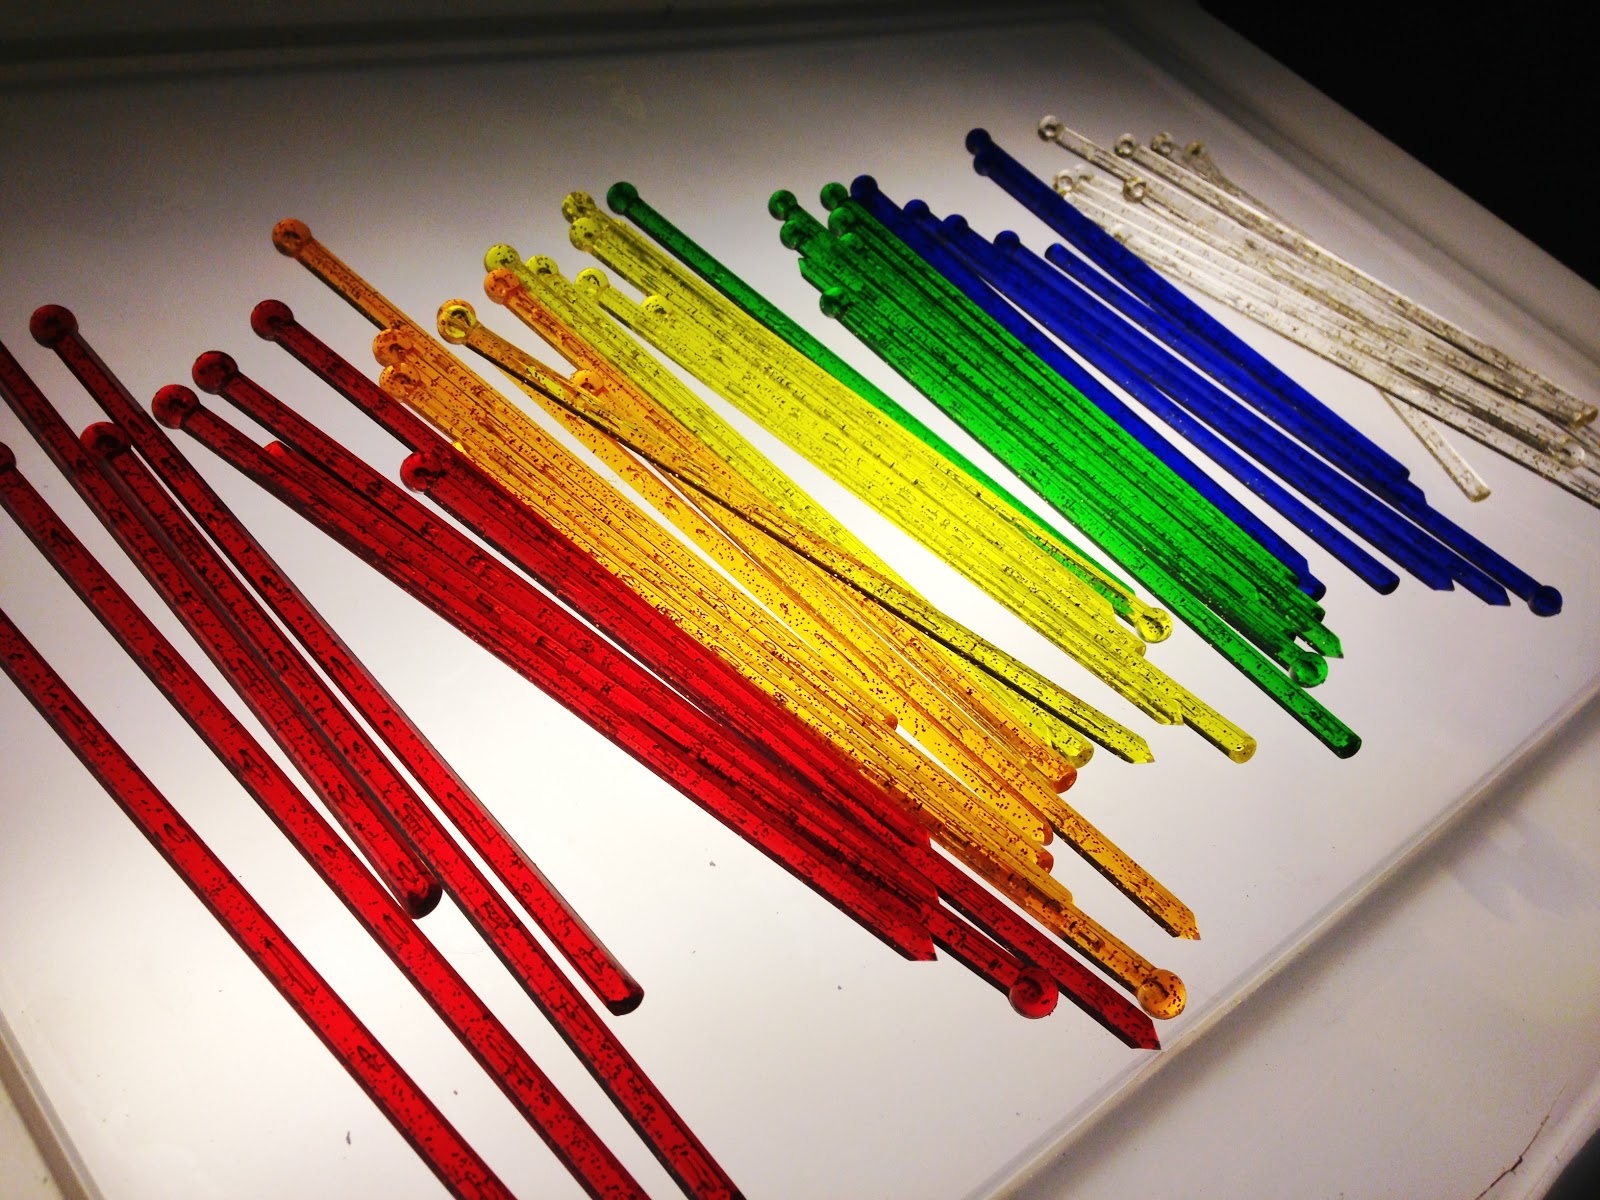
Something else that we've been playing with lots lately has been our homemade light box. I had to fix it up a bit last weekend because some of the paint was coming off of the inside - I'm working on details about how we made our inexpensive version! We found these fun drink stirrers at the grocery store a while back and they look awesome with the light coming through!


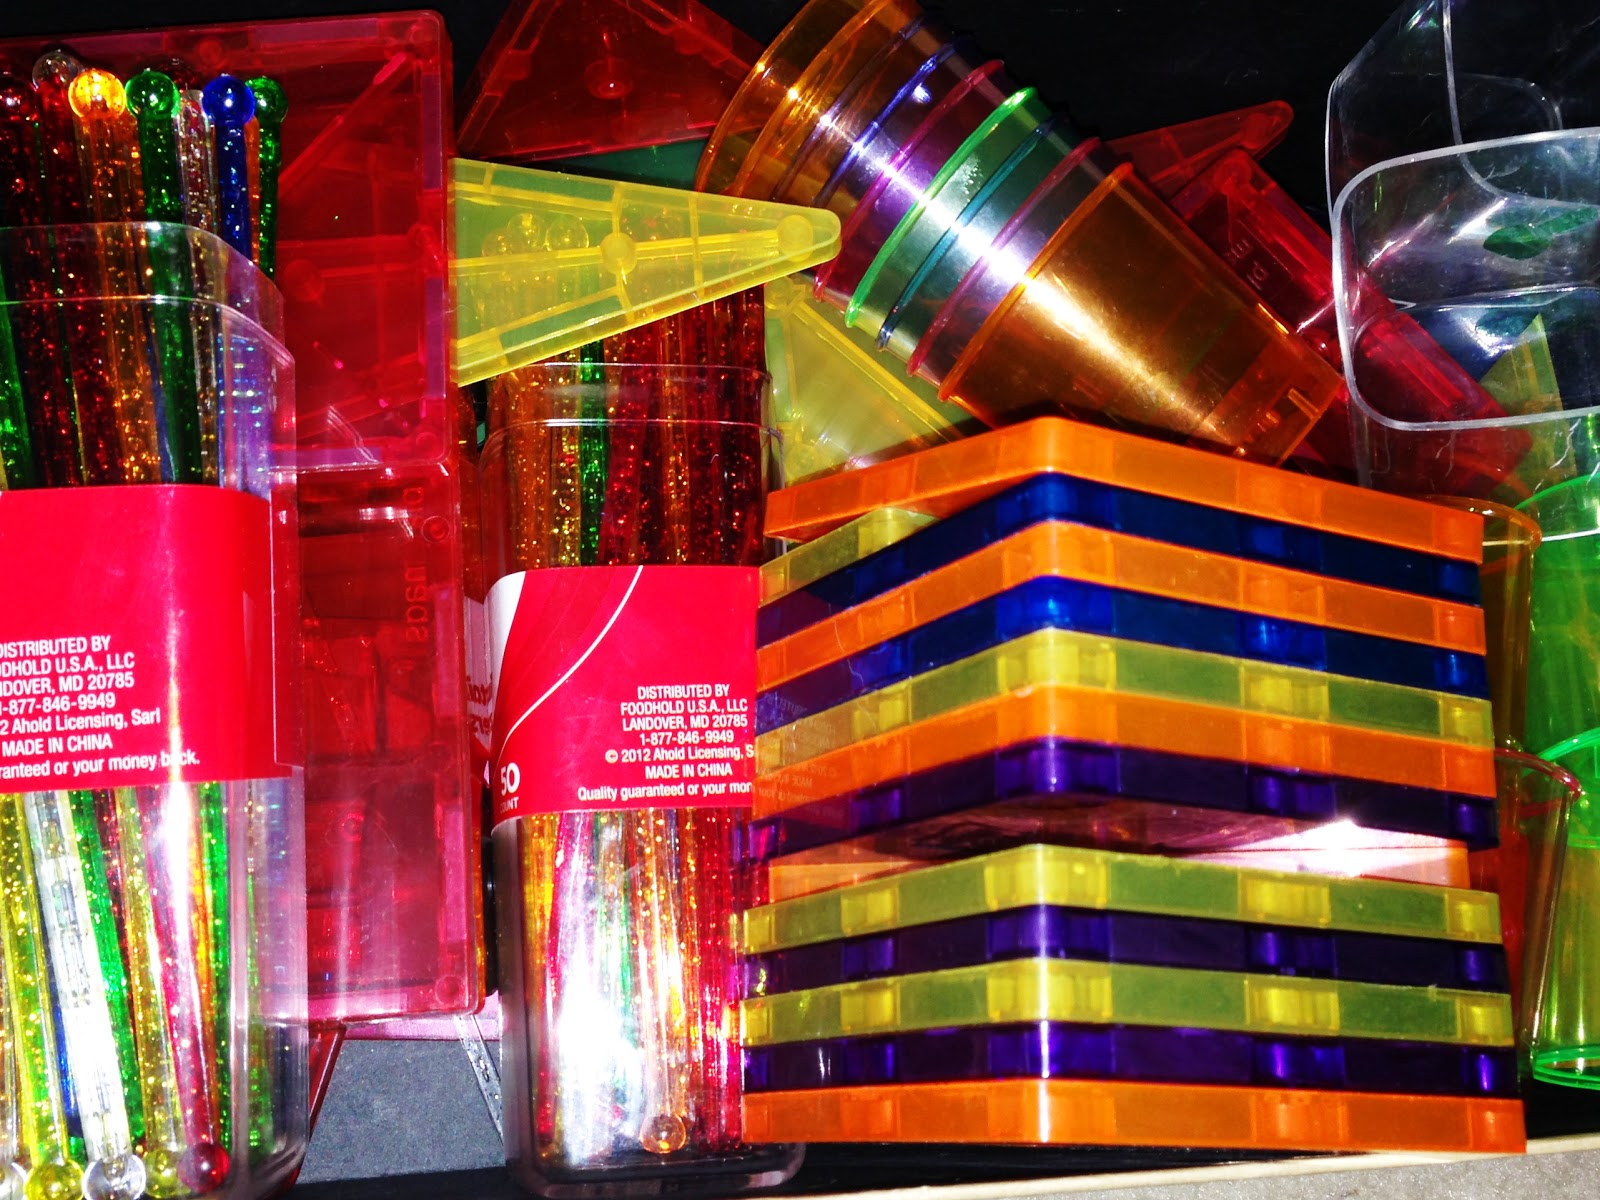
Here are some of the other items that my son likes to use on the light table:


What kinds of colorful spring activities have you been up to with your little ones?

Rainbow Beans {How To}

I want to start off by saying that I LOVE using kool-aid in my preschool classroom - but not for eating or drinking - only for arts and crafts. In the past, we've made kool-aid dough & paint and dyed silk scarves & noodles for play activities. I find the combination of their vivid colors and fruity smells to be a wonderful sensory addition to our activities. Now on to yesterday's shenanigans:


During yesterday's snowday, my son and I made a batch of Kool-Aid dyed beans for our sensory bin. I hadn't tried dying beans previously and it didn't actually occur to me that it would be all that different, so I didn't bother to research the idea at all... Overall it was a success, but after the fact, I realize that there may have been better methods.


We used the following items:
  • 6 one pound bags of navy beans (I bet that any kind of white bean would work)
  • 6-8 packs of Kook-Aid (one packet+ for each bag of beans)
  • Food coloring 
  • Rubbing Alcohol 
  • Ziplock bags (use the freezer kind so they don't break!) 

  1. We poured one packed of Kool-Aid into each bag (two for purple because I couldn't find grape Kool-Aid), a 'squirt' or two of food coloring (more for brighter beans, less for pastels), about 1 tablespoon of rubbing alcohol & 2 tablespoons of VERY hot water into each bag (my thought is that the hot water helps the Kool-Aid dissolve & the beans soak up the color more quickly). 
  2. Seal bags and shake until Kool-Aid is dissolved, then pour 1 pound of beans in each bag. 
  3. Reseal & shake again until beans are coated. 
  4. We left the beans sit for about 15 minutes, shaking/rotating the bag periodically. 
We did one color at a time - I suggest starting with yellow because it seemed to take the longest to soak in.


The beans almost immediately started soaking up the solution & the skins started to wrinkle a bit - that's when we poured them out onto a cookie sheet covered with paper towels & tinfoil (to minimize cleanup). My thoughts were to stop soaking he beans before the skins totally came off.

I let them sit out in the kitchen for an hour or two so that most of the alcohol could evaporate, then I preheated my oven to 175 degrees and turned it off. Then I put the trays of beans in the oven overnight. CAUTION: do not put the beans directly in the oven because the rubbing alcohol is VERY flammable!


In the morning, they were still a bit damp, so I carefully took the paper towels out from under them, reheated the oven to 175 and let them 'bake' in a warm oven for a couple of hours to fully dry them.


The colors came out somewhere between pastes & brights -- and the coloring was a bit uneven. The wrinkly skins dried back out smooth and they have a nice light fruity scent. Next time, I 'll add more Kool-Aid packs per pound of beans -- maybe 2-3 packs to make the scents & colors more vivid.

Overall, I'm pleased with them and my three-year-old is begging to play with them!  I think we'll play with them at home for a while, then I'll take them to preschool next week for St. Patrick's Day rainbow activities or Jack and the Beanstalk story extension activities this spring!


Listen! I hear audiobooks...

Over the last couple of months, I've purchased quite a few audiobooks through our school's Scholastic book orders and have been trying to figure out how to best set up a listening center for my preschool students who have varying degrees of hearing loss AND different amplification devices. Some of the audiobooks have been pretty good, with music and/or sound effects that compliment the story while others, have been awful renditions! Here's what I came up with so far:


I dug out my old iPhone, cleared off the content & set it up with some of the audiobook mp3 files. Since it was an old iPhone 3, I was unable to upgrade to the newest operating system, so I moved all of the icons except for the 'music' icon off to the 2nd and 3rd screen (on newer devices, you can 'drag them on top' of each other to put them into other 'folders.') I also went into settings & restricted internet, email & camera access to make the phone less functional - so my kids could only use it for the purpose intended. This is much easier on newer devices and can easily be set under the accessibility menu to only grant access to a single function at a time. I used the internet to add cover art to each of the audio tracks so that my non-reading Prek students could easily figure out which audio file matched the book they wanted to read.


With the help of our audiologist, I collected audio accessory cables & other connectors for the array of hearing aids that my students have including Phonak, Oticon & Cochlear Ltd. products. I also had to get a headphone jack adapter because of the recessed headphone jack in the old iPhone made it impossible to plug in the audio cords - my techie husband helped me out with this! Here's a picture of all of the listening center supplies in their box (I found these great Lego storage boxes on clearance at my local Walmart - they're just the right size for a bunch of books!)


We've experimented with the audio cables for direct input - which has been interesting. Some of the kids like the direct input, while others seem to prefer to hold them up to their 'ear' like a telephone. Some students have even quite accurately named this activity the 'book phone.'

I was a bit surprised by how much my students engaged with this activity! Most of my students are doing very well with it & find it fun - however, I think that it's worth noting that all of the students who have found it enjoyable also have pretty good auditory comprehension & receptive language skills - but not necessarily 'mild' hearing loss; some of the students that like this the most actually have a severe-profound loss & have to work VERY hard to understand what they're hearing! For students who have lower receptive language skills, I think that I will be working on recording alternates with simplified language, no sound effects & integration of learning to listen sounds/simple songs.

I also MUST mention that listening activities like this are absolutely NOT a substitute for having high quality conversations & interactions with young children who have hearing loss. The use of these audiobooks isn't necessarily intended to improve their language skills, but rather provide an interesting opportunity to engage with technology in a way similar to my students' hearing peers. I'd venture to guess that most preschoolers have probably played a game on a caregiver's phone or tablet from time to time - but my students, while they've all likely engaged with technology, have probably missed out on a significant portion of the music and sound effects that go with it. Listening centers are a way for my students who have hearing loss to engage in experience with technology more like their hearing peers do - and if we end up working on language skills - great!

Since setting up the first listening center, I've located two additional older iPhones from family & friends and I'm working on also setting them up for use in my classroom!  This is definitely something that we'll continue to explore in the classroom... check back for more of our experiences with these listening centers.

Fun FREE App for PreK!

I'm always on the look out for high quality, affordable apps that have a valid learning purpose for the classroom... recently I discovered two FREE apps - 123 Ninja and ABC Ninja from Alligator Apps that I just LOVE!


ABC Ninja is just like that other addictive fruit slicing app that so many adults have mindlessly played... I think that this, however, is a great learning tool to reinforce letter names AND sounds! I don't feel guilty letting my three year old play this on the commute to and from work and my students just about beg to play the 'ninja game!' The sound effects and music are subtle and not annoying in the least -- and are even minimalist compared to some apps, which is great for my students who have hearing loss; too much background noise & sound effects can be overwhelming and confusing! The game play is customizable with three different levels of difficulty (easy, medium, hard), can be adjusted to focus on capital, lowercase letter names and sounds and can be set for a time limit from 1-10 minutes! At the end of each session, data is displayed but cannot be emailed - I've used the screenshot function on my iPad to capture data when I need it.


123 Ninja is the exact same concept, except it focuses on numbers 0-99. Again, a hit with my students and my own child. It's customizable with different levels of play, the ability to select target numerals and time limits.


With both apps being free to download & also free of in-app purchase opportunities, it's really a win all around!

The only thing that might make this set of apps better would be to have the letter/number repeated somehow, as my students sometimes miss the target when it's announced. And the ability to email data after the game is played by a student and/or the ability to set up individual student profiles so that you don't have to go back and forth changing the settings every time a new child comes to play would be great. I'd also like to see this game expanded to include a version for shapes and colors - my youngest preschoolers would really love reinforcing options for practicing listening & basic concepts!

p.s. just for the record, I was not asked to write this review and did not receive any sort of compensation for my opinion.